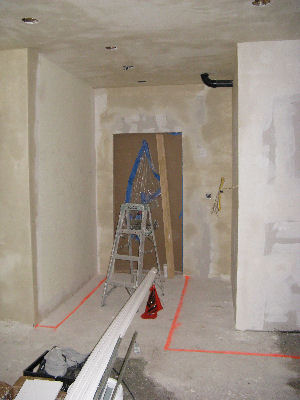
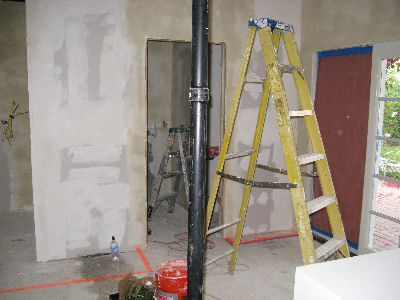
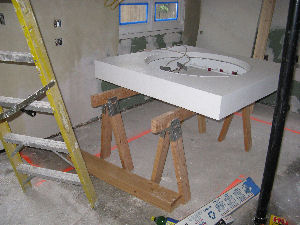
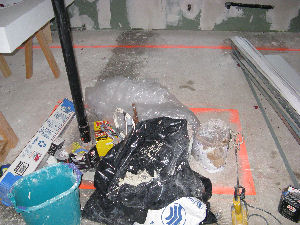
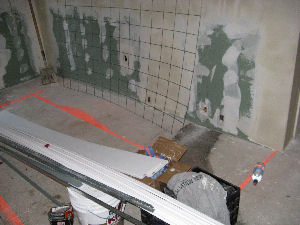
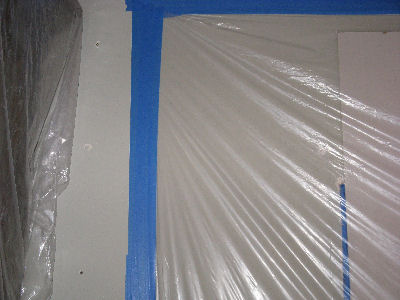
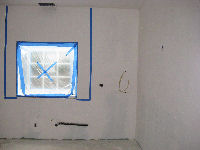
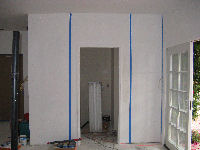
I am really whacked out from lack of sleep. I do everything I need to do to let the guys in, etc., and retire to try to nap. Meantime, G has been and gone and he and OO have marked out the placement of the cabinetry. It's hard to see for all the stuff in the pictures, but it's all there behind the orange lines. Note the island in the middle. The cabinets are smaller than the top.
|
|
 |
 |
 |
Not much interesting happens today. Sanding. It's dusty, but it doesn't look much different when it's done.
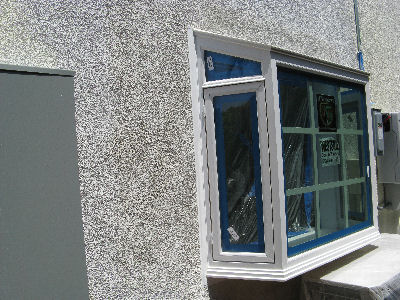
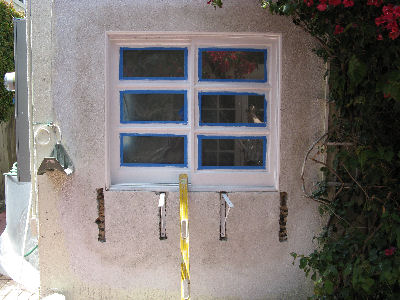
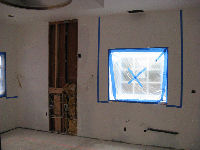
More sanding and mudding going on, again not looking like much. They've finished the stucco around the windows, however, and it looks really good. I don't think I'll be able to tell, at least from the texture, where the edges are. Maybe the paint. R has also started to open up the area under the window for the shelf brackets. I thought they were going to be angles rather than triangles, but the triangles are okay, I guess. I don't know if I'd have been so eager to bury them in the stucco if I'd known about the hypoteneuse, but it's no harm. We buy primer, and I ask OO to ask one of the guys to use the quart I'd bought to prime some drywall scraps to test paint colors on. I have got to get a ceiling color and I'm just feeling too rotten.
 |
 |
G comes over and we go over the plans again. He has a few questions about where to add a spare inch that he found here and there. More counterspace! I fought for every inch of counterspace on the East and West walls, and I'll always take another inch. I was thinking a little on the East wall that maybe it would be better to have it next to the entry, but G assures me that he's left a good margin and he wants it to match the stemware side. More counterspace!!
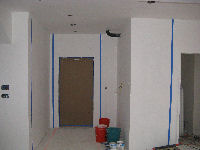
For some reason G hasn't had the proper measurements for the hood until this week. Adjusting the cabinet heights is not much of a problem. I think I like the outcome better, anyway. Well, not so much that, but the result is what I was envisioning, because I knew the hood size and was lining up to that rather than the division G has assumed. OO just wants to find out where the exhaust hole will be and whether the new inverter or something will have to move. He opens up a rectangle so he can check. It's perfect! It will go right in between everything. BUT... It'll also go right through the airconditioning pipes. OO thinks they can be moved and calls SS, my HVAC guy, who agrees to meet him Monday. Meanwhile, the guys open up the whole length of wall in question.
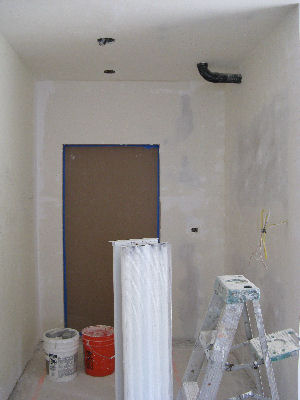
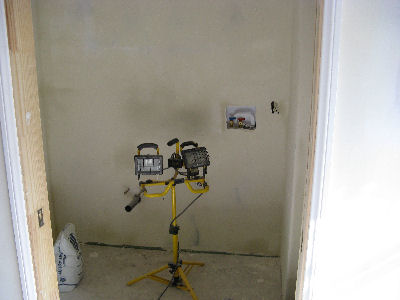
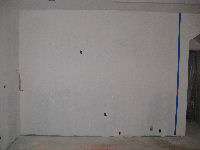
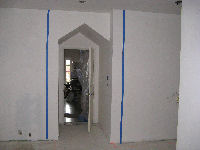
They sand some more. I guess it can be seen in the first picture, below. We've also gone into the dining room to talk about how things will be fixed. The middle picture shows where the filler over the drywall screws has popped. The same thing happened on the stair wall. I think those are the only ones. They didn't screw new drywall to the living room side, and the stairs are between the kitchen and the entry. They're using halogen worklights in the laundry to help speed the mud drying.
Just as the guys are packing up to leave I get the oomph to make a ceiling sample, 18:1. It looks just right.
 |
 |
 |
Although we went to the paint store earlier in the week to pick up primer, today is the day we're buying all the rest of the paint. And more primer. I've been waking slowly and work hard to make it out quickly today, but yesterday's sample is too dark! It always dries darker, doesn't it? So I whip out a 30:1, and set it on the garage in the sun to dry fast. It's great paint--I spread it on thickly to get proper color depth quickly, so it has really deep brushmarks. They're all gone when it's dry. My half an hour turns into three quarters, but I'm all clean and awake for the errand. OO sends R2 to get a good sample from the stairwall since the one from the bottom isn't good enough. A little piece won't pop out next to the screw so he gets a rectangle a couple inches each way. It's right at shoulder level so I really hope the mend won't show. The lucky part is that wall has needed help since the open house 6 years ago when the guests really messed it up.
We take the piece of molding that was removed from the dining room doorway, a big chip of plaster that had fallen from the dining room wall when the door was made wider, the piece from the stairwall, and my sample to get color matching. The wall color is just a standard chip from the display: Fine Paints of Europe #90. They prefer to color match the ceiling color rather than use the formula. Then the adventure begins. They don't have any of the primer at either store. They won't have more for a week. There isn't even any to be FedEx'd. They get a list of dealers and start calling for us. There's one on the way to my brother's house that has two gallons. I'm going past there anyway, but not until late afternoon. I ask how late they're open since sometimes paint stores close earlier than others. They hem and haw a little and say something about the five gallons we bought before being everything they had. Well, I'd just bought my quart not that long before. No such thing as a dumb questoin, right? I ask about quarts. Quarts? They have 9 quarts! That's nearly the three gallons we'd asked for!!! Um...how about saying, "We don't have any gallon cans, but we have nine quarts?" Then I learn that the cans are "European gallons" which are just the large size, and only about 2.5 quarts. That explains the price difference. No wonder we ran out! OO hasn't lived in this country long enough to be visually familiar with our sizes. He's used to the five gallon bucket from Home Depot and litres. The quarts are plain old quart paint cans like any other. They give us a little break on the price because of the problem. Needless to say, we take the quarts.
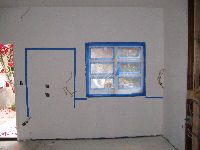
They're not going to waste paint and effort painting behind where the cabinets get screwed to the walls. Just good sense! They're putting enough effort into mudding and priming and sanding, remudding, repriming, resanding, priming, sanding, repriming, resanding... So OO tapes off the areas where the cabinets will go, a couple-three inches smaller than the cabinets. Even though there will be tile around the windows, all of those areas get painted rather than fussing.
 |
 |
 |
 |
 |
 |
 |
 |
|